
Getting started with a safety razor - my top tips
Reducing the amount of plastic we use, or more accurately throw away, has been something we’ve been trying to be more aware of as a family. The bathroom is one room in the house where we’ve found that we can make some quick and easy changes that help us to be a bit kinder to our one and only planet.
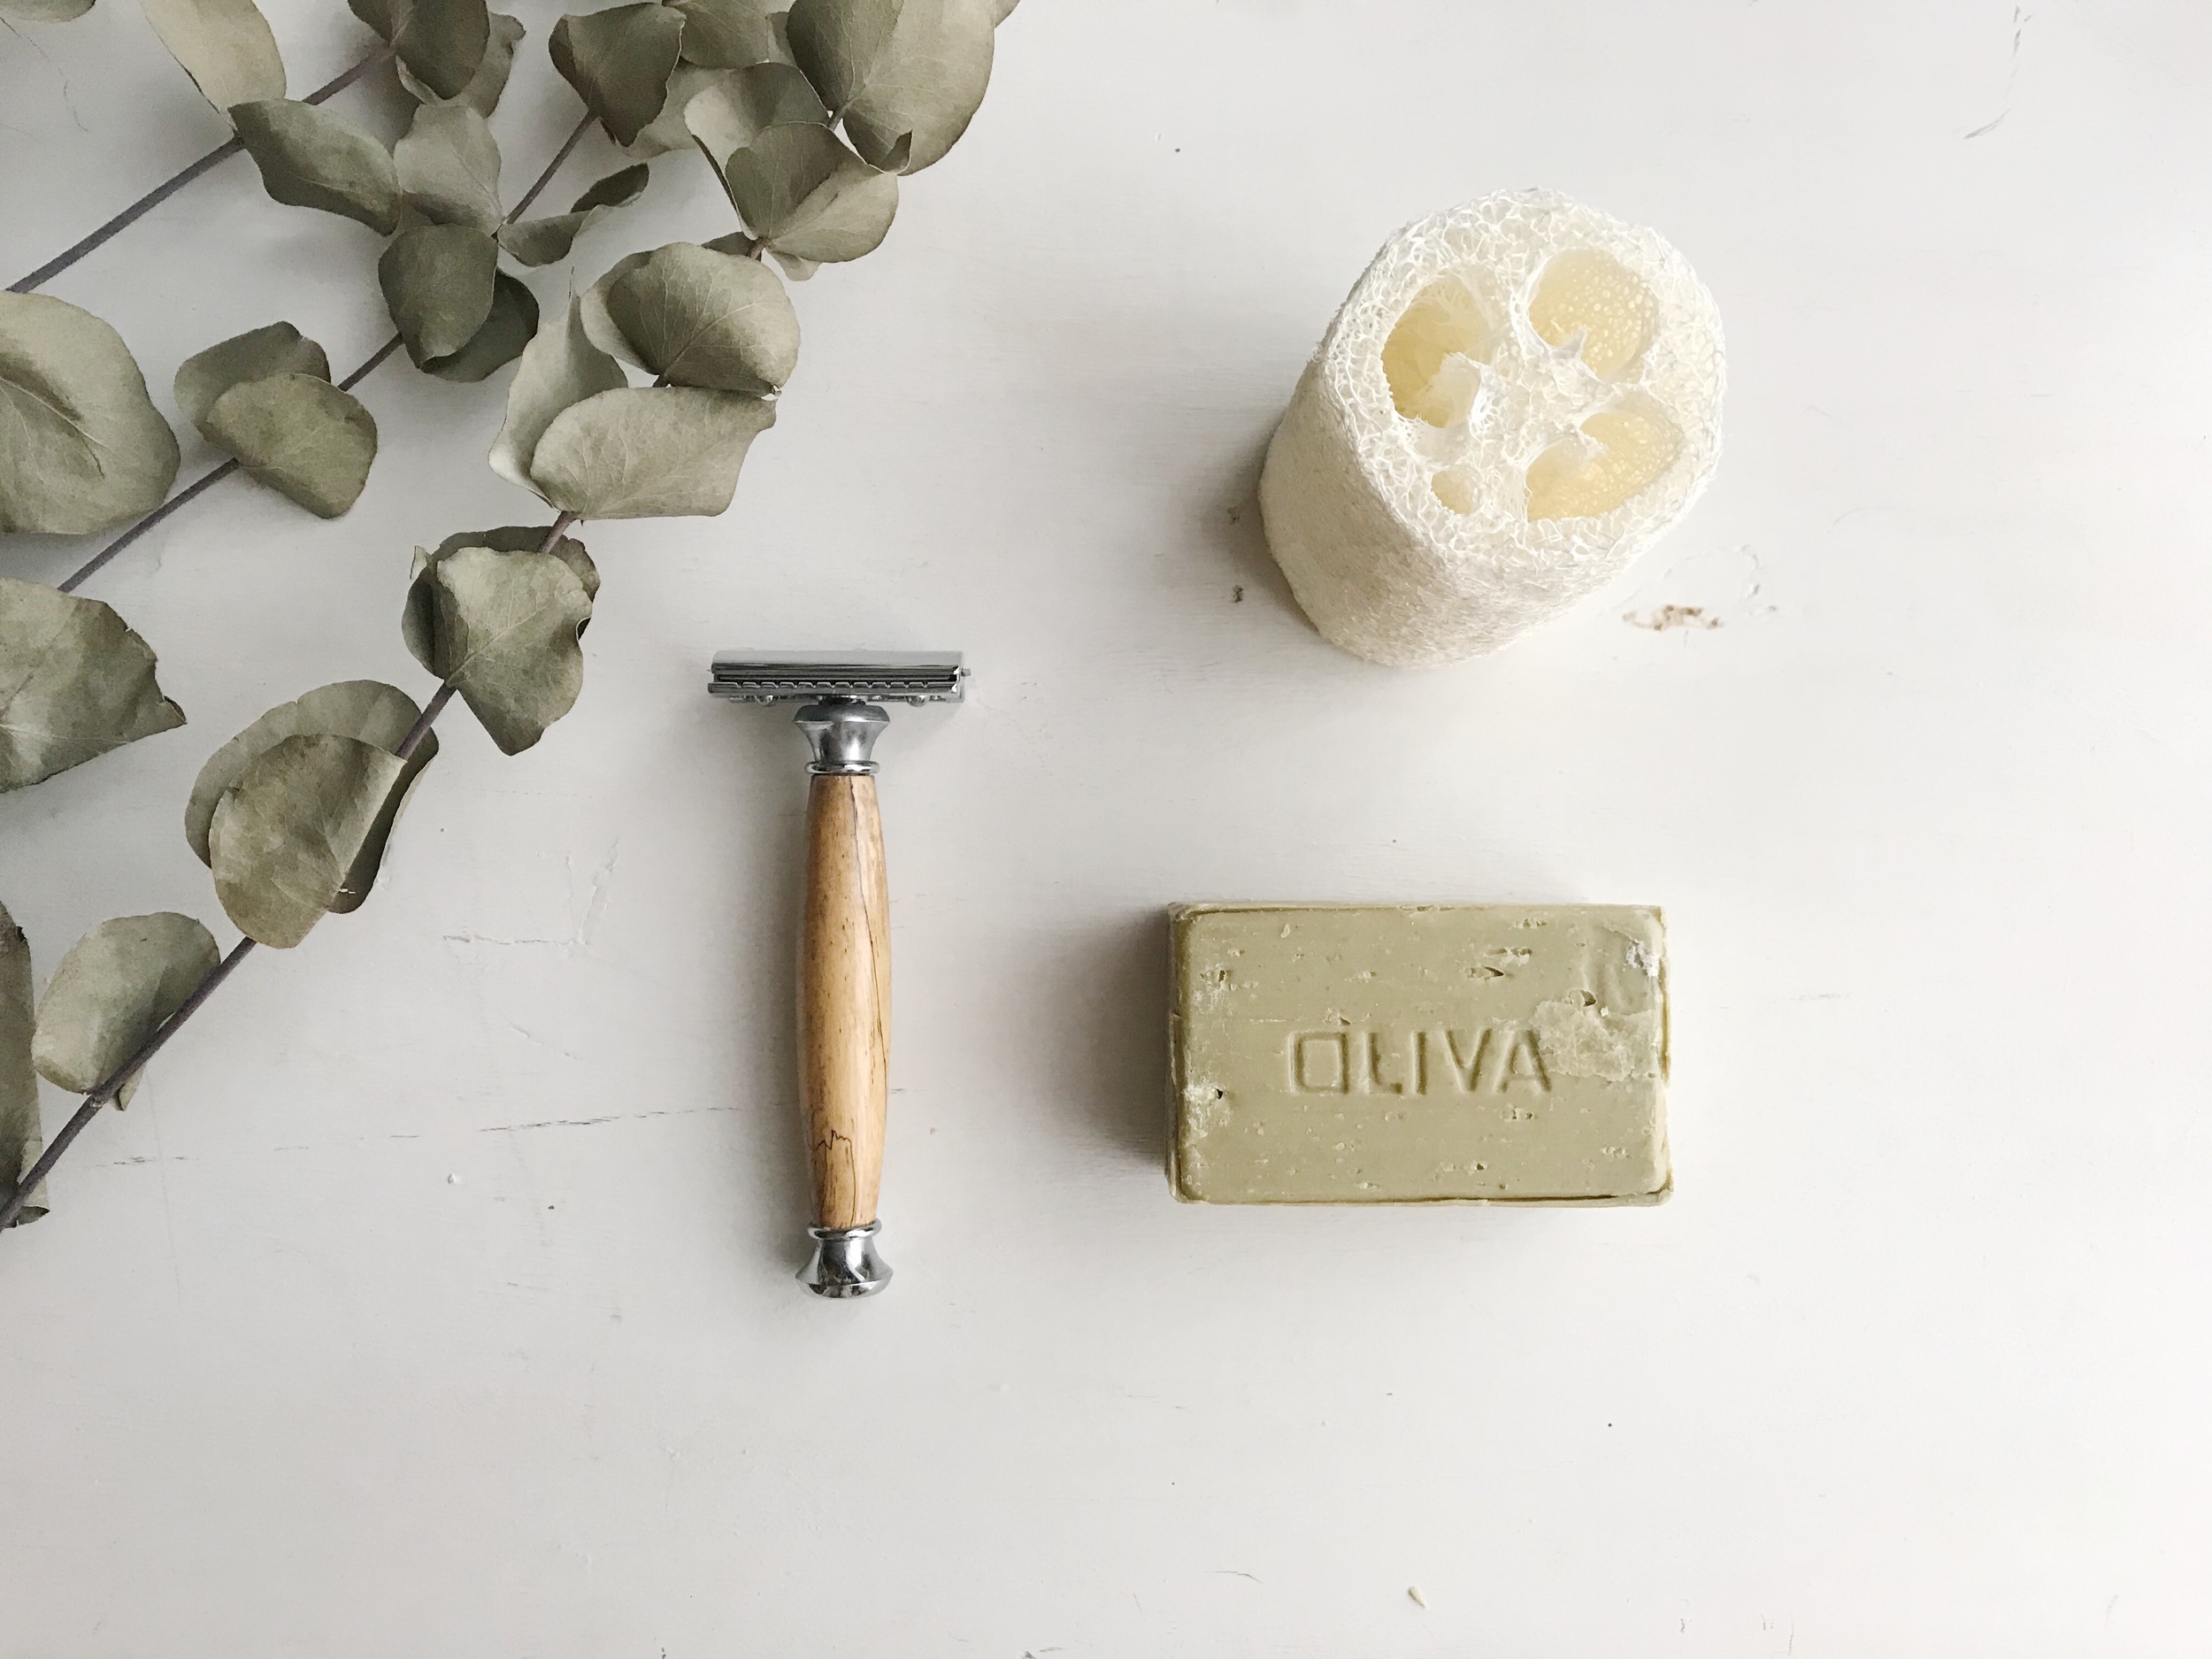
One of the things I’ve done is ditch the disposable razors and instead opt for a (very beautiful) reusable safety razor instead. This felt like a real treat for me as the razor itself is much more aesthetically pleasing than the plastic supermarket varieties and feels luxuriously weighty in your hand. However, I very quickly discovered that they give you a very different shaving experience and ended up with horrible razor burn along with a patchwork of scabs and slices all over my legs.
Shaving my legs became a fearful experience (I know, dramatic much?), but I was determined to make it work for me; for the sake of the planet, but also my beautiful new handcrafted razor. It’s taken me more than 6 months, but with little snippets of advice here and there I’ve think I’ve finally got my leg-shaving routine down (and anxiety-free)!
So here are my top tips for having a pain and anxiety free shaving experience (and beautifully smooth legs - if that’s your thing):
Check how far the top is screwed on
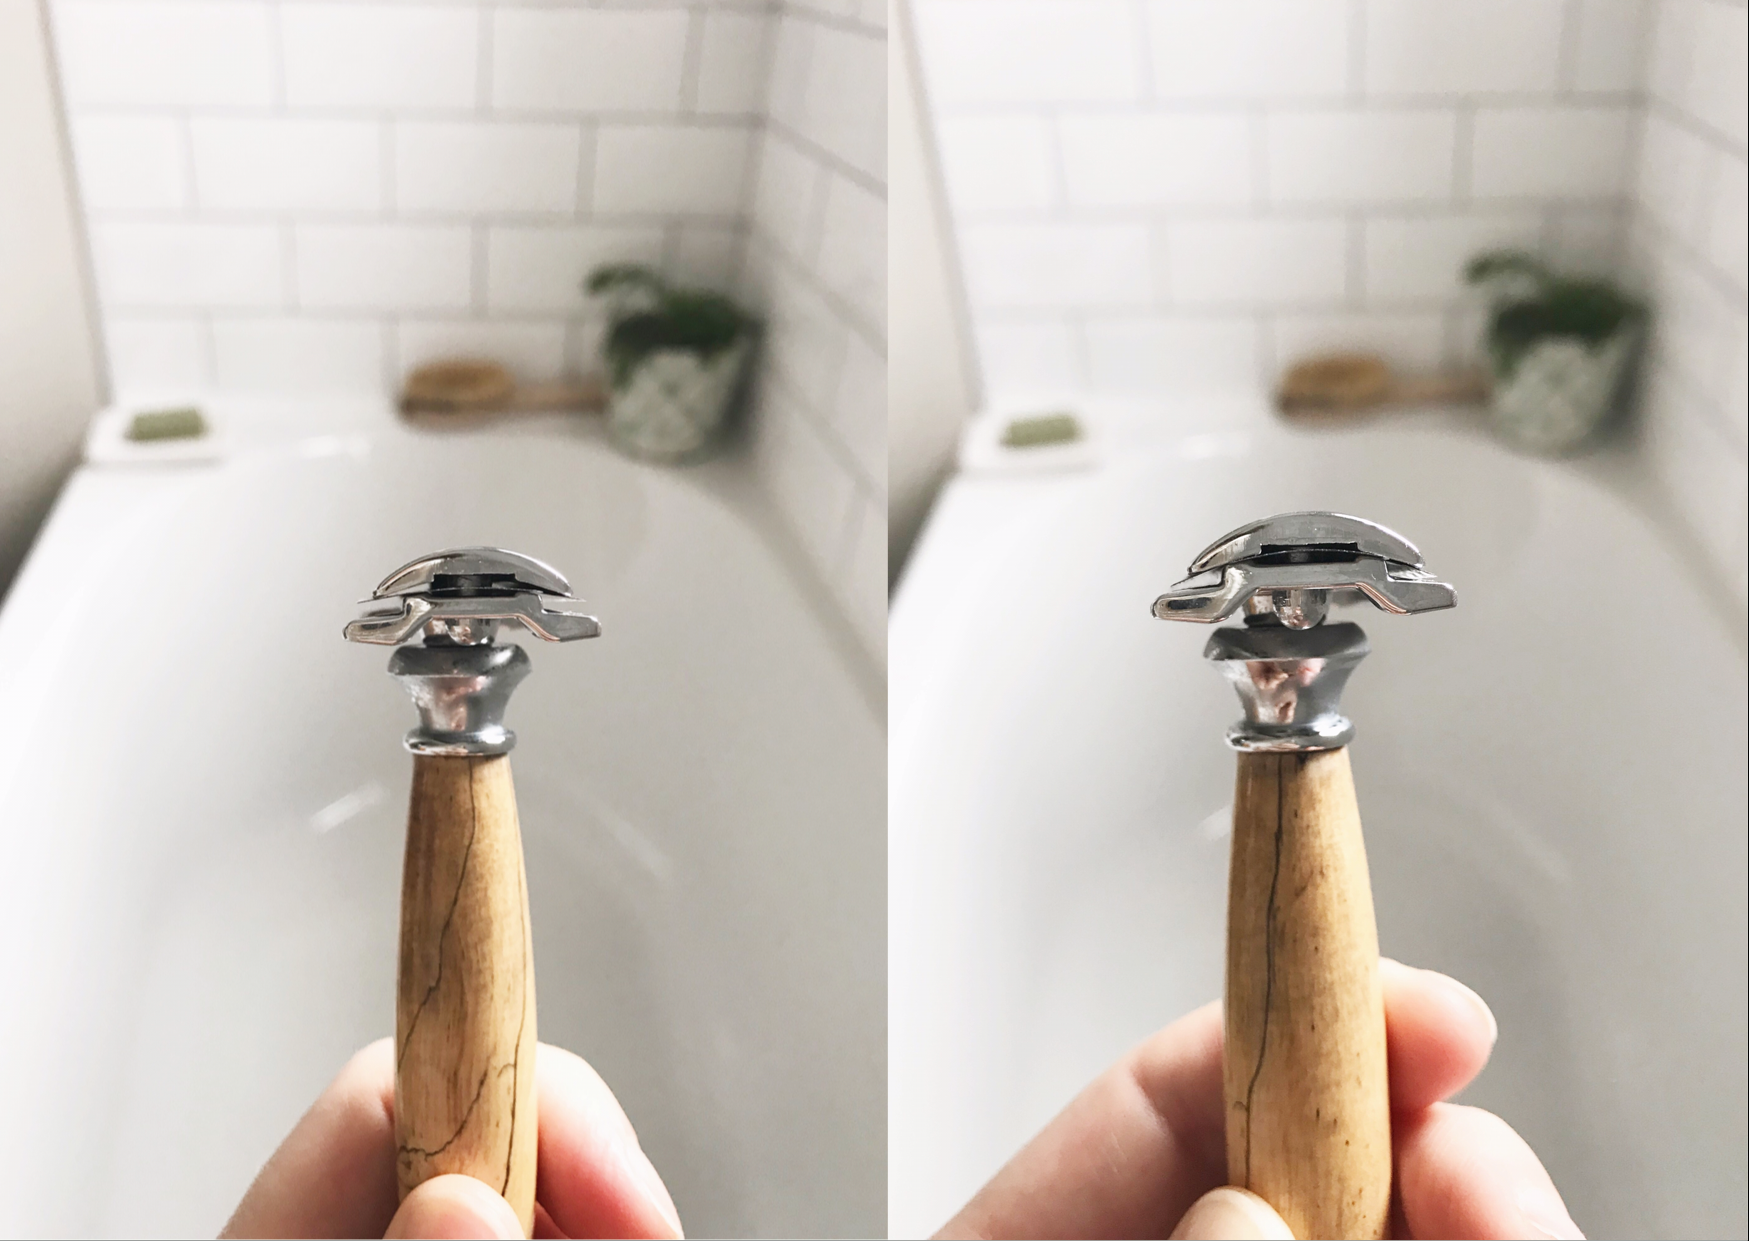
This may seem obvious, but this passed me by for the longest time! The amount you screw the top down has an effect on the angle of the razor itself, so for the first few months (yeah, I know - I’m a slow learner) I was shaving with the razor pretty much at a 90 degree angle to my legs. This is actually pretty silly and ended up with me getting so many horrible cuts on my legs every single time I shaved - no wonder it made me nervous!
The problem was I hadn’t screwed the top on enough, so it wasn’t pressing down on the razor and creating a little (but oh so very necessary) bend. The solution: screw down the top until you see the razor bend. I mean, how simple is that?
Take your time
Now unlike the first piece of advice I actually learned this pretty quickly. You can’t rush with one of these things! It’s kind of like switching from an automatic to a manual - you definitely need to concentrate a little bit harder, but you have much greater control and ultimately a better shave.
Obviously this isn’t the best if you’re in a rush to get ready, but honestly I don’t think it’s that big of a deal. Knowing you need to take a few extra minutes in the shower means you factor it in to your routine; and who couldn’t do with a few extra minutes of ‘me time’? It’s actually a good excuse to slow things down a bit.
p.s. it gets faster with practice.
Use conditioner
This is my favourite recent ‘life hack’ piece of advice. There are probably some really lovely shaving balms out there that do the trick just as well, or even better, but in a moment of razor-burn despair I went on a Googling session to find ways of minimising the awful red rash I would get on my legs every time I shaved. I needed something I could do right away, without waiting for something new to be delivered, and this - honestly - was a game changer!
I’ve always just lathered up my soap to create a bubbly barrier to my skin whenever I’ve shaved, but seeing as you get such a close shave with a safety razor this didn’t seem to work any more. Instead I now use hair conditioner and I still can’t actually believe how well it works! Absolutely no friction, or rash - win! And it’s something I’ve already got in my bathroom, so no need to fork out for new products that will take up space and cost you more.
Exfoliate
You probably already know the benefits of exfoliating, especially before you shave or moisturise; but it’s even more important if you’re using a safety razor. Just like I mentioned before, you get a much closer shave with one of these so it’s important to minimise the amount of friction between your skin and the razor.
There are many lovely, natural ways to exfoliate your skin (maybe for another blog post) but what I do every time I shower is something really quick and easy - use a loofah. A loofah is a natural alternative to plastic shower pouf made from the dried husk of a loofah (funnily enough), and in my opinion they do a much better job of exfoliating your skin. So they’re a much better choice all round!
So there you have it. Just a few quick and simple steps to make your safety razor experience more enjoyable and, well, safe! I hope you found it useful. And if you’ve not yet invested in a safety razor, you can Pin this post for later by saving the image below:


Hello I’m Lois
I’m a UK based designer, maker and mother on a journey to a more simple and natural lifestyle in the city of Sheffield.
Welcome to my blog where I share interiors, inspiration and ideas for things you can do yourself at home.